Webhook out block acts as an Output for your workflow. It allows you to automatically send the final, collected data from your workflow to a specified URL. This enables you to integrate Jsonify’s results directly into your own applications, databases, or other automation platforms like Make.
This block is typically placed at the very end of a workflow, after all data has been collected and structured.
Purpose
Use theWebhook out block to:
- Send extracted data to your own custom API endpoint to be saved in a database.
- Trigger actions in other applications (e.g., create a new record in a CRM) by sending the data to a service like Make.
- Integrate Jsonify with almost any external system that can receive incoming webhooks.
- Automatically pass your workflow’s results to another script or application for further processing.
Configuration
- Paste a webhook URL below:
- This is the primary input field where you must provide the URL of the external system that will receive the data.
- This URL is often called a “Webhook URL” or “Endpoint,” and you’ll get it from the application you want to send data to.
- For example, if you’re using Make, you would create a Scenario with a “Custom webhook” trigger, and Make would provide you with a unique URL to paste here.
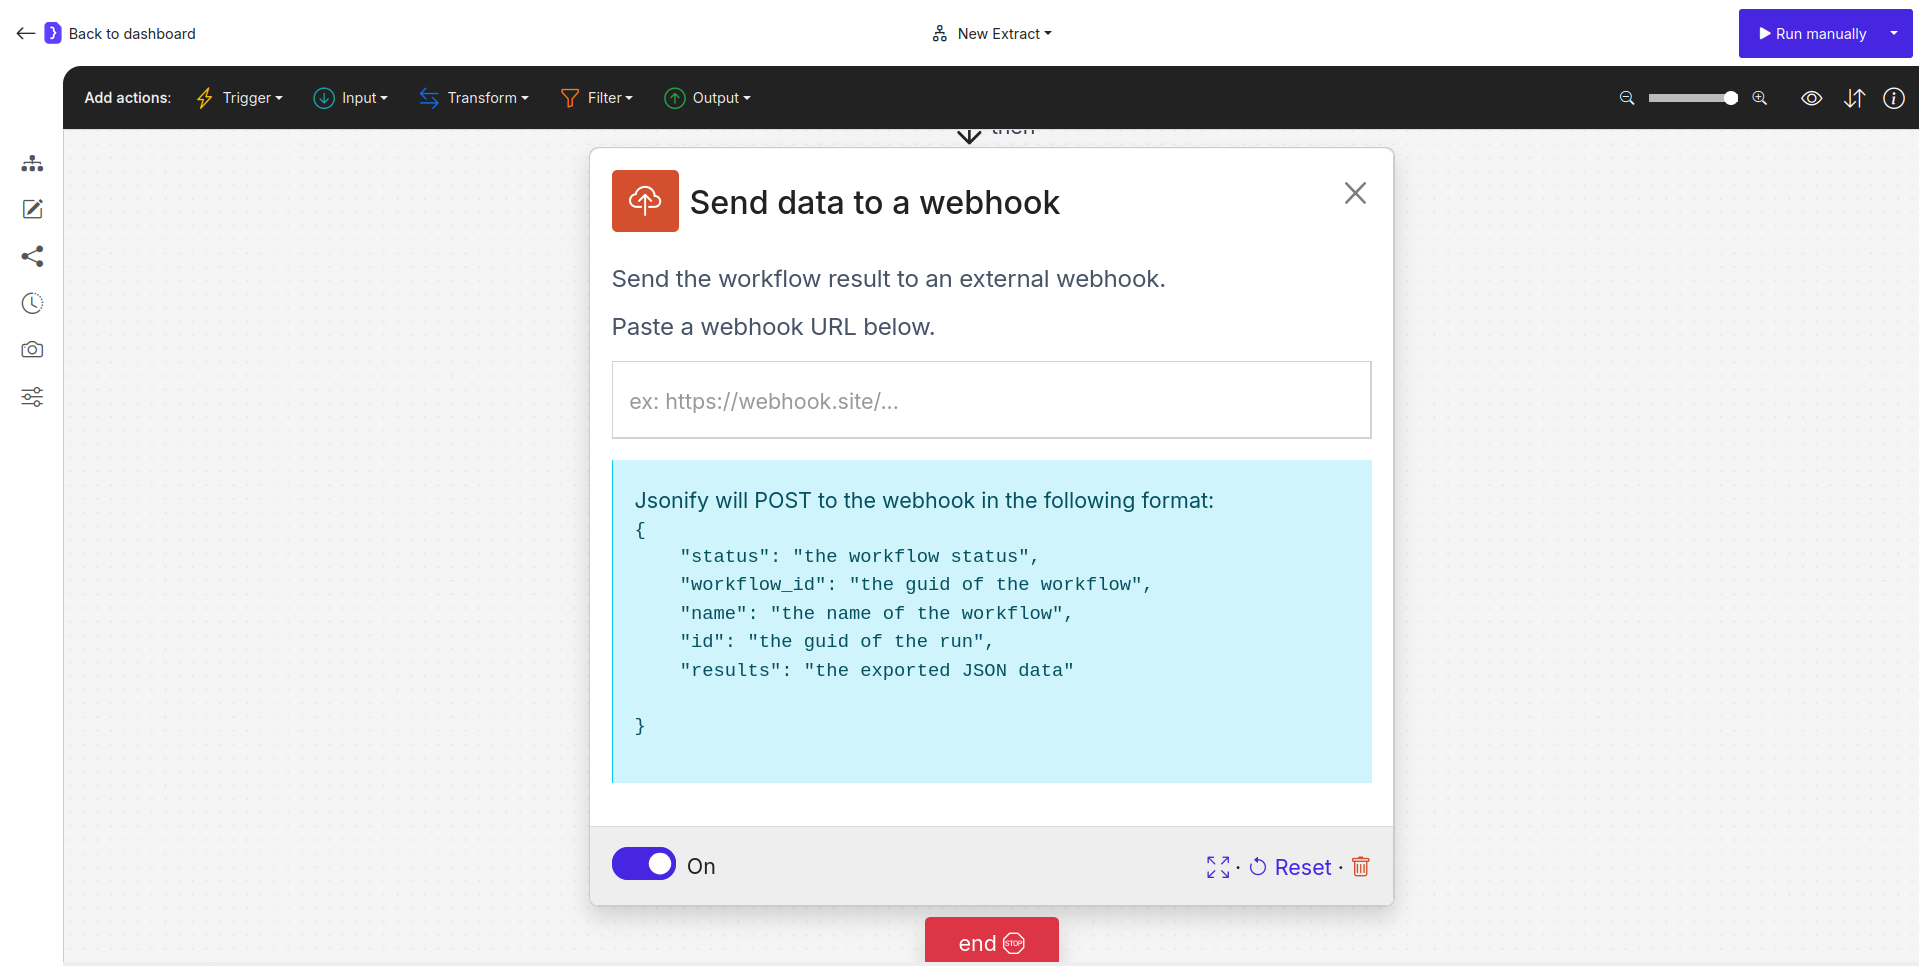
Screenshot: Webhook out block configuration panel
Data Format
When the workflow completes, Jsonify will send an HTTP POST request to the specified webhook URL. The body of this request will be a JSON object with a predefined format containing the workflow’s results and metadata.-
Example JSON Payload:
-
Payload Breakdown:
- status: The final status of the workflow run (e.g., “completed”, “failed”).
- workflow_id: The unique identifier for the entire workflow.
- name: The name you gave to your workflow.
- id: The unique identifier for this specific run of the workflow.
- results: This key contains the actual data you collected, typically as a JSON string representing an array of objects (your result rows). The receiving application will need to parse this JSON string to access the data.
How It Works
- Your workflow runs completely, starting with a trigger and executing all the data collection and transformation steps.
- After the final data has been processed (e.g., by an
Extract DataorMerge datablock), theWebhook outblock is executed. - Jsonify constructs the final JSON payload containing the workflow’s metadata and results.
- Jsonify sends an HTTP POST request with this JSON payload to the URL you provided in the block’s configuration.
- The external system at that URL receives the data and can then perform its own actions.
Example Scenario: Sending Leads to a CRM via Make
- In Make:
- Create a new Scenario.
- For the trigger, search for and select the “Webhooks” app.
- Choose the “Custom webhook” trigger.
- Make will provide you with a unique webhook URL. Copy it.
- In Jsonify:
- Create a workflow that scrapes lead information (e.g., name, email, company).
- Make the last block in your workflow
Webhook out. - Paste the Make webhook URL into the input field.
- Back in Make:
- After running your Jsonify workflow once to send test data, Make will detect the incoming data structure.
- Add a new module to your Scenario (e.g., “HubSpot” ➙ “Create/Update a Contact”).
- Map the
resultsdata from the Jsonify webhook payload to the appropriate fields in your CRM module.
- Result: Every time your Jsonify workflow runs and finds a new lead, the data will be automatically sent to Make, which will then create a new contact in your CRM.
Key Considerations
- Final Step: This block should almost always be the very last block in your workflow.
- Receiving System: You must have an external system or service ready to receive the webhook. The URL is not something you create yourself; it’s provided by the receiving application.
- JSON Data: The receiving system must be capable of handling a JSON POST request and parsing the
resultskey to get your data. - No Authorization Header (from Jsonify): Unlike the incoming webhook trigger, this block does not send an
Authorizationheader. If your endpoint requires security, you should use a hard-to-guess “secret” URL provided by your receiving service.
Webhook out block is the key to pushing your collected data out of Jsonify and integrating it into your other tools and systems.