Steps
1. Create a New Workflow
- Navigate to your Jsonify Dashboard.
- Click the button sequence to create a new workflow: Create an empty workflow ➙ Extract.
- Notice that the created workflow already contains the necessary blocks (
Open WebsitesandExtract Data) for this first example.
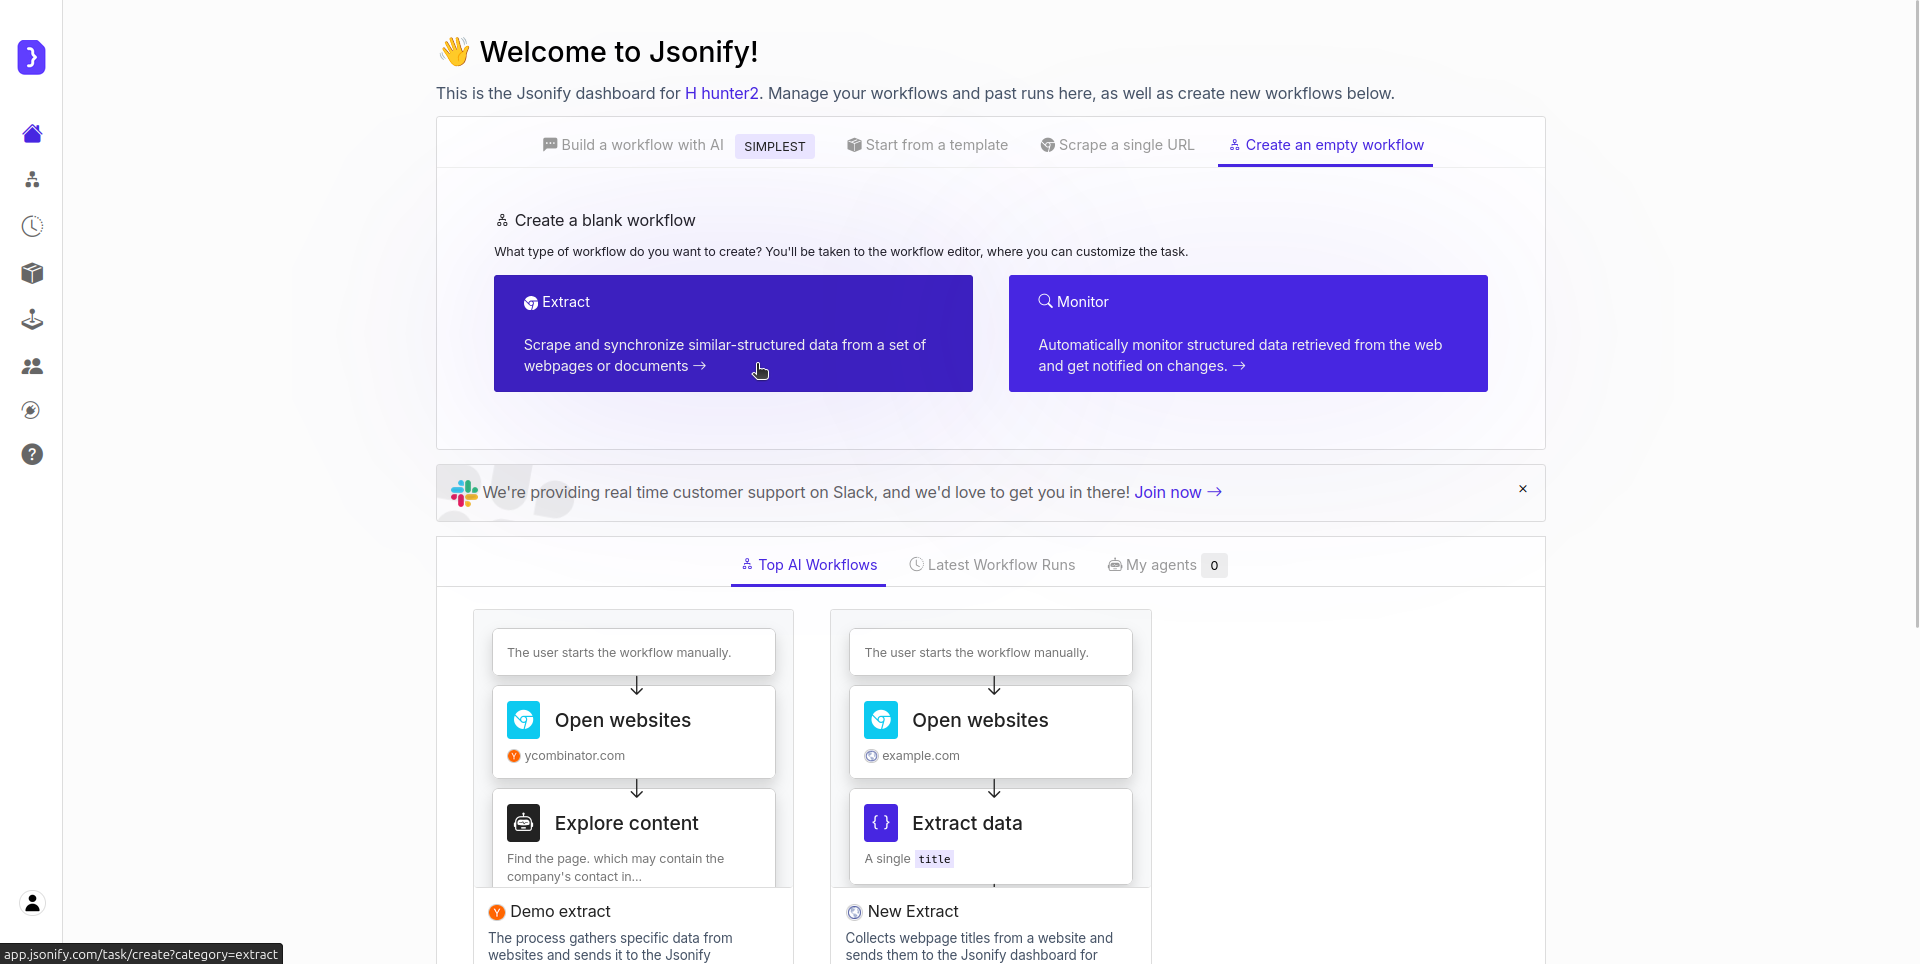
Creating a new workflow from the Extract template
2. Configure the Open Websites Block
- The starting point for this workflow is the
Open Websitesblock, which is already on the canvas. - Select the
Open Websitesblock to configure it. - In the URL input field, enter the website you want the AI Agent to visit. Let’s use a simple, stable example:
https://example.com - Ensure the toggle switch next to the URL is ON.
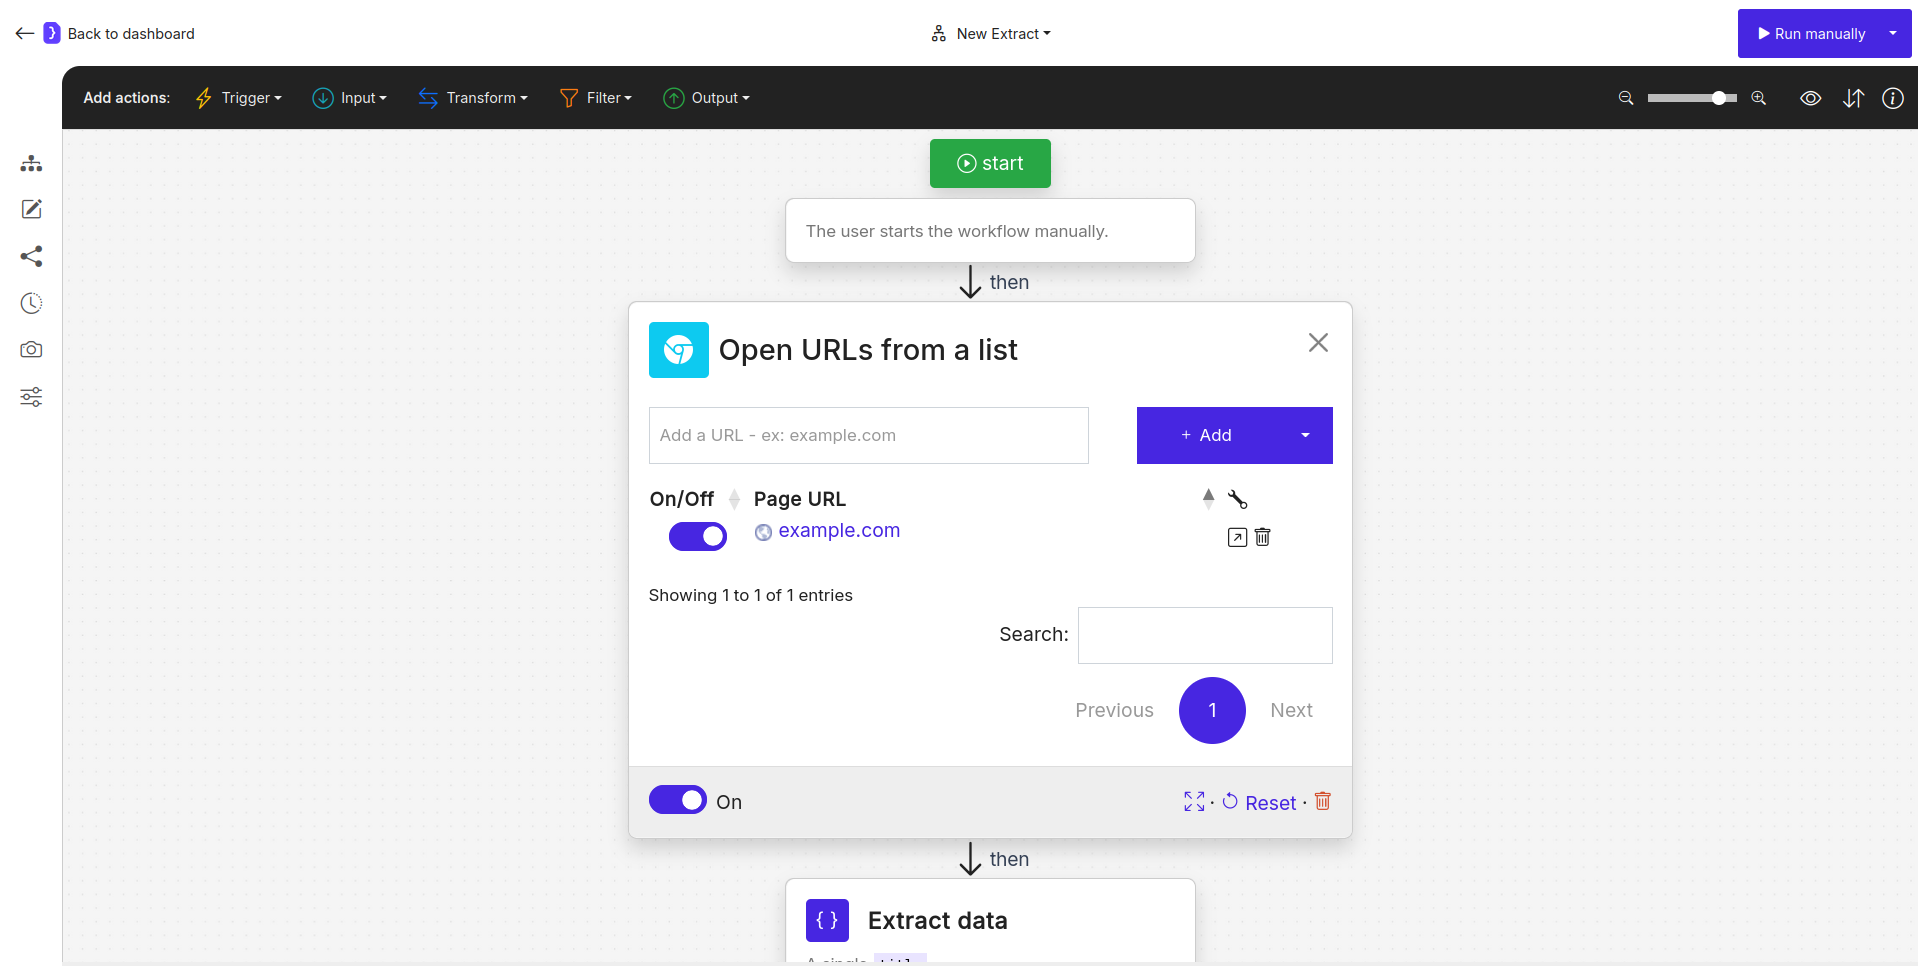
Configuring the Open Websites block with example.com
3. Configure the Extract Data Block
- Next, we need to tell the agent what to extract. The
Extract Datablock is already placed after theOpen Websitesblock on the canvas. - Select the
Extract Datablock to configure it. - We want a single piece of data (the title) for this example, so ensure “A single item” is selected.
- Define the data point you want:
- In the first column, labeled NAME, type
title. - In the second column, labeled EXAMPLE VALUE OR A LONGER DESCRIPTION, describe what the AI should extract:
Extract the main title of the webpage.
- In the first column, labeled NAME, type
- (Optional) You could add further clarification in the “Add additional instructions” field below, like:
Extract only the text content of the main page title.
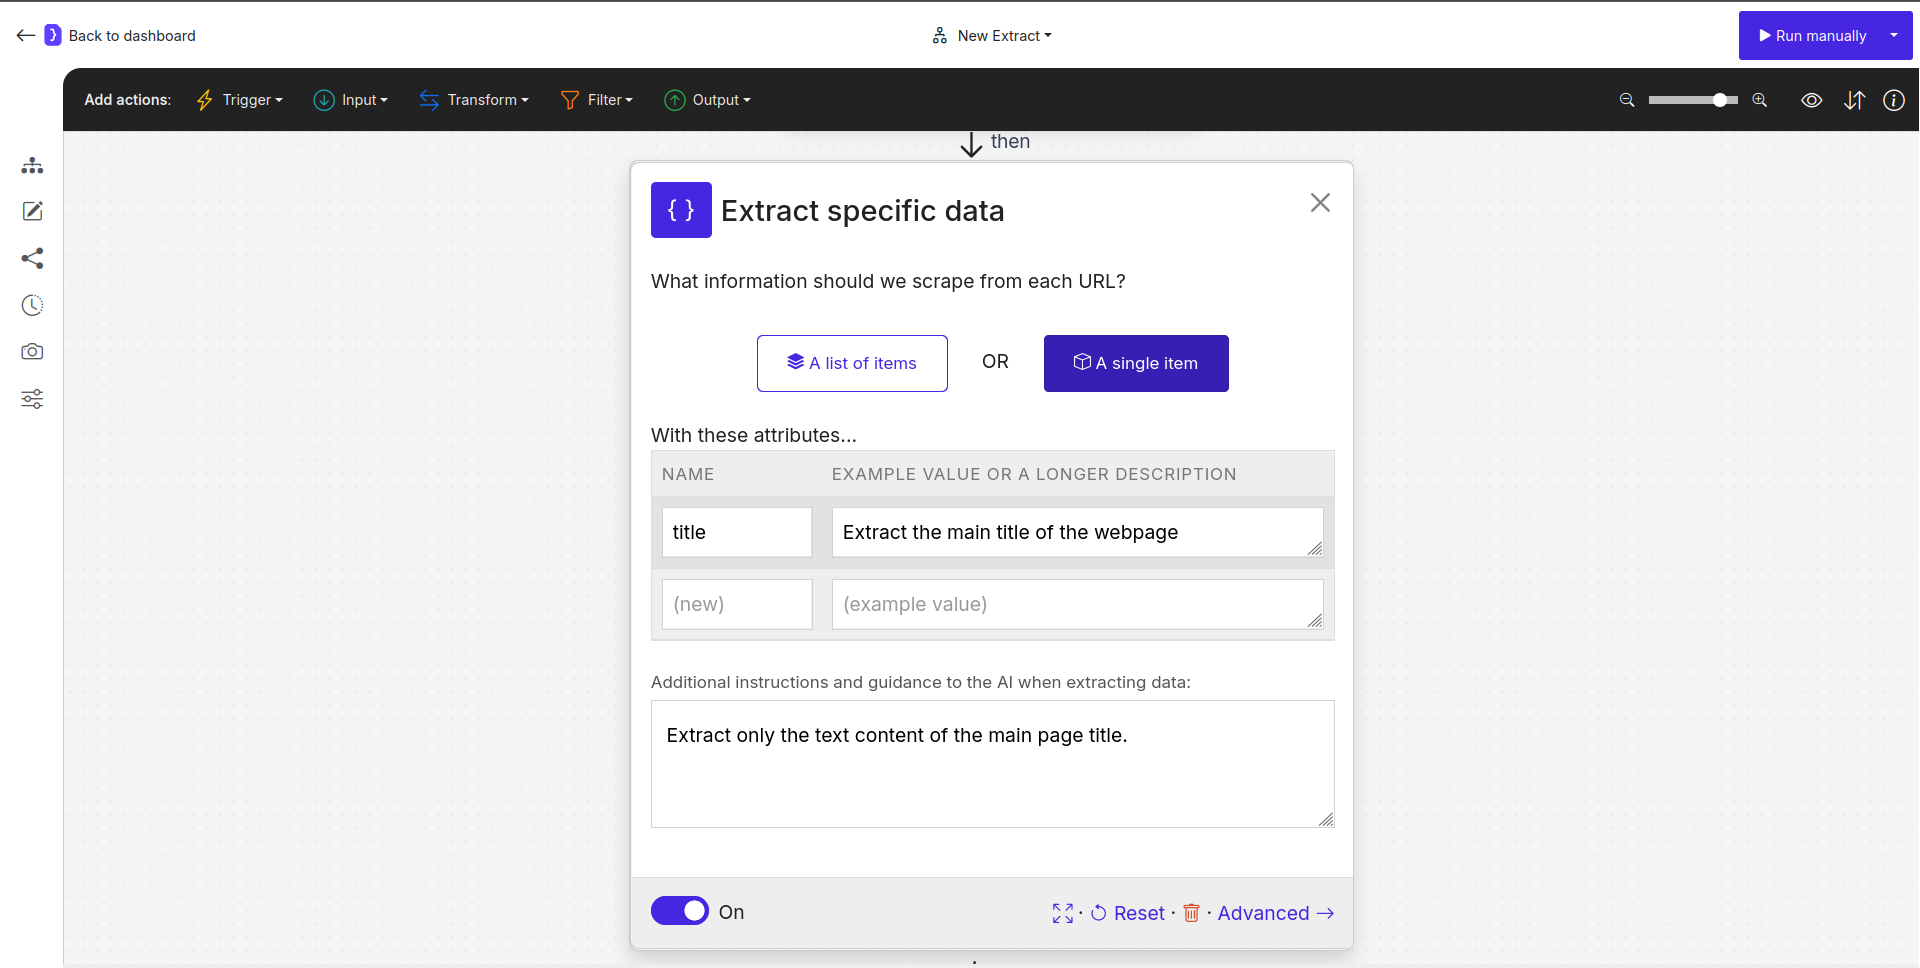
Configuring the Extract Data block for title
4. Run Your Workflow!
- That’s it! Your simple workflow is configured and ready to run.
- Find and click the Run button (located at the top right of the editor).
- Jsonify will assign an AI Agent to open
example.comand extract its title based on your instructions.
5. Check the Results
- When you manually run the workflow, the editor will automatically redirect you to the page for the current run.
- On this page, results will appear as the AI agent works.
- Once the workflow finishes (it should be very quick for this example), click on “View as sheet”. You should see the extracted data presented in a table, with columns named
titlecontaining the text “Example Domain” andurlcontaining the link to the page where the data was extracted..
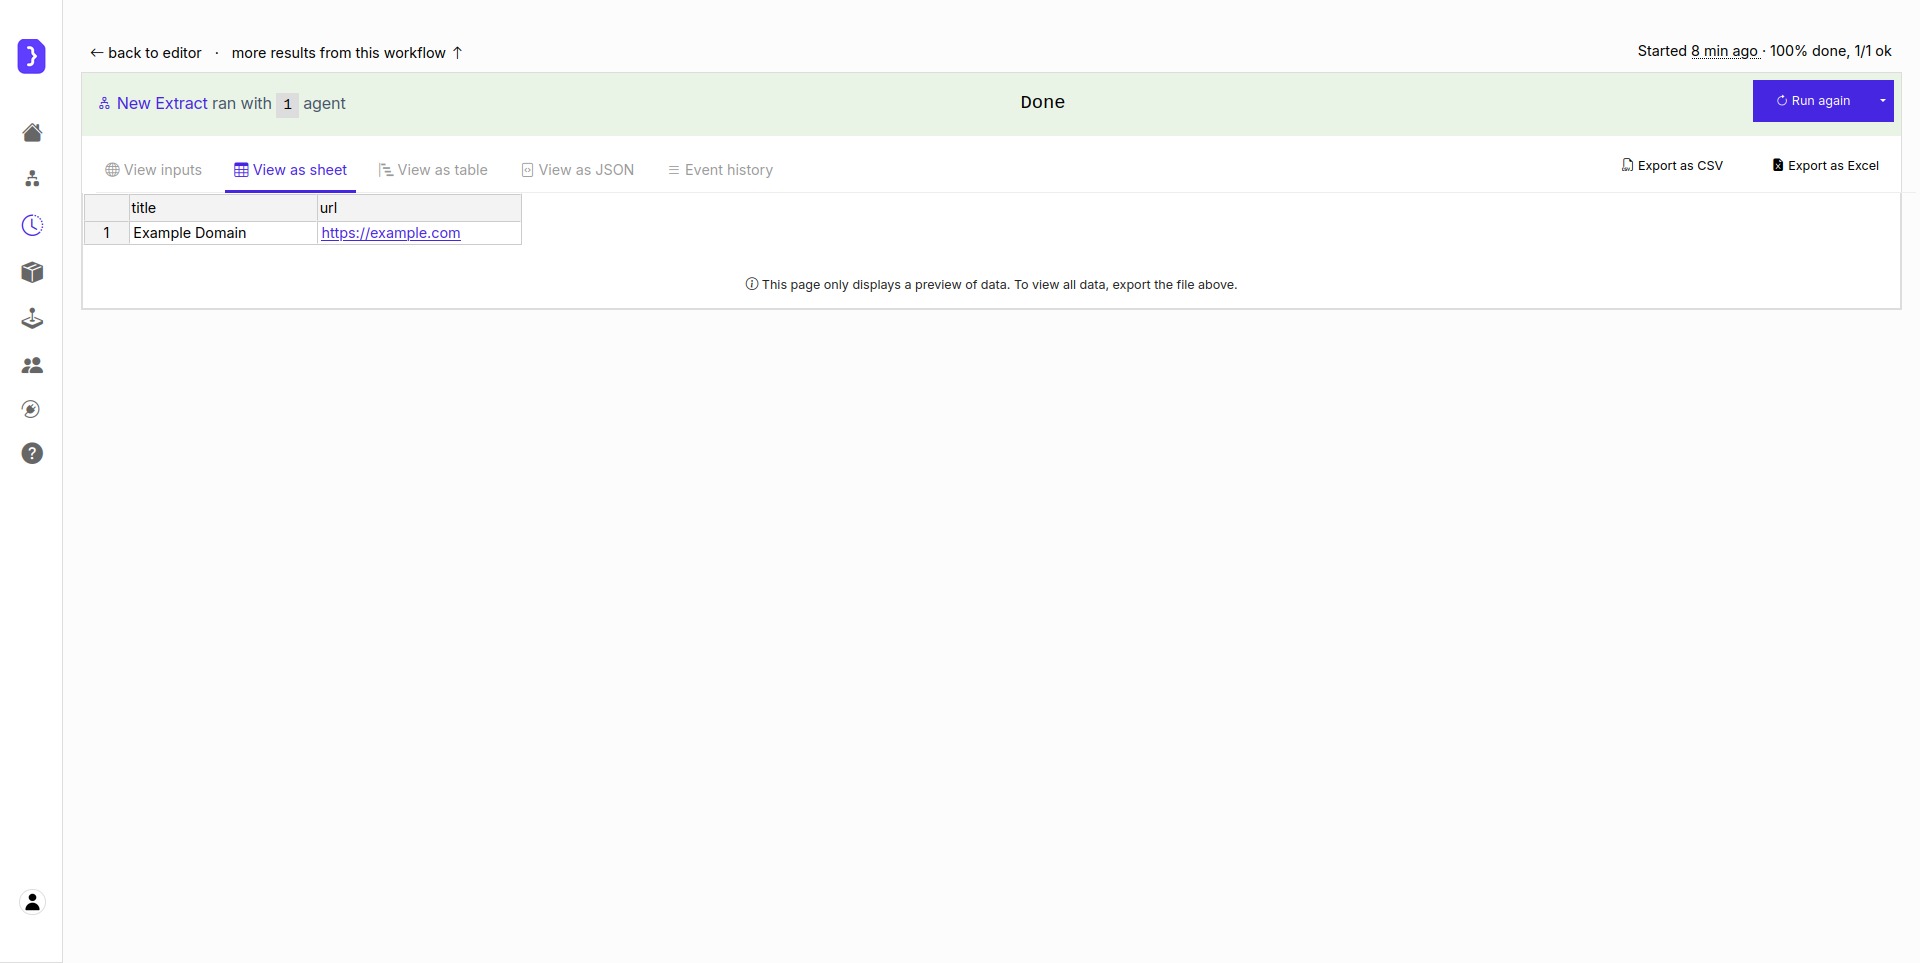
Results table showing extracted title 'Example Domain'