Goal
To analyze the top landing pages from Google search results for a given query, extracting elements like:- Company name.
- Count of H1, H2, H3 tags.
- Key phrases or keywords found on the page.
- Presence of trust signals or specific UX elements.
- Word count.
- A general SEO-focused analysis or summary based on the content.
Key Blocks Used
Timer(Trigger)Google Search(Input)Find Links(Transform)Follow Links(Input)Interact with Page(Transform)Extract Data(Transform - for analysis)
What You’ll Learn
- How to set up a scheduled workflow using the
Timerblock. - How to process Google search results to identify and visit target landing pages.
- How to handle pop-ups and overlays to ensure clean data extraction.
- How to instruct the
Extract Datablock to perform analytical tasks and generate insights. - Understanding basic Google search query refinement.
Steps
1. Create a New Workflow
- Navigate to your Jsonify Dashboard.
- Click: Create an empty workflow ➙ Extract.
- The default
Open Websitesblock and initial trigger will be modified or removed.
- The default
2. Add and Configure Timer Block (Trigger)
- We want this workflow to run periodically. First, to add the
Timertrigger:- Look at the block categories at the top of the editor (Trigger, Input, Transform, Filter, Output).
- Select the Trigger category.
- From the dropdown list, select
Timer. - Click the + icon on the canvas in the starting (“placeholder”) position.
- Select the
Timerblock to configure it:- Choose a time interval for this task to start at: Select your desired frequency, e.g.,
Every 7d(for weekly). - Start at a specific time of day in GMT (optional): Set a time, e.g.,
09:00.
- Choose a time interval for this task to start at: Select your desired frequency, e.g.,
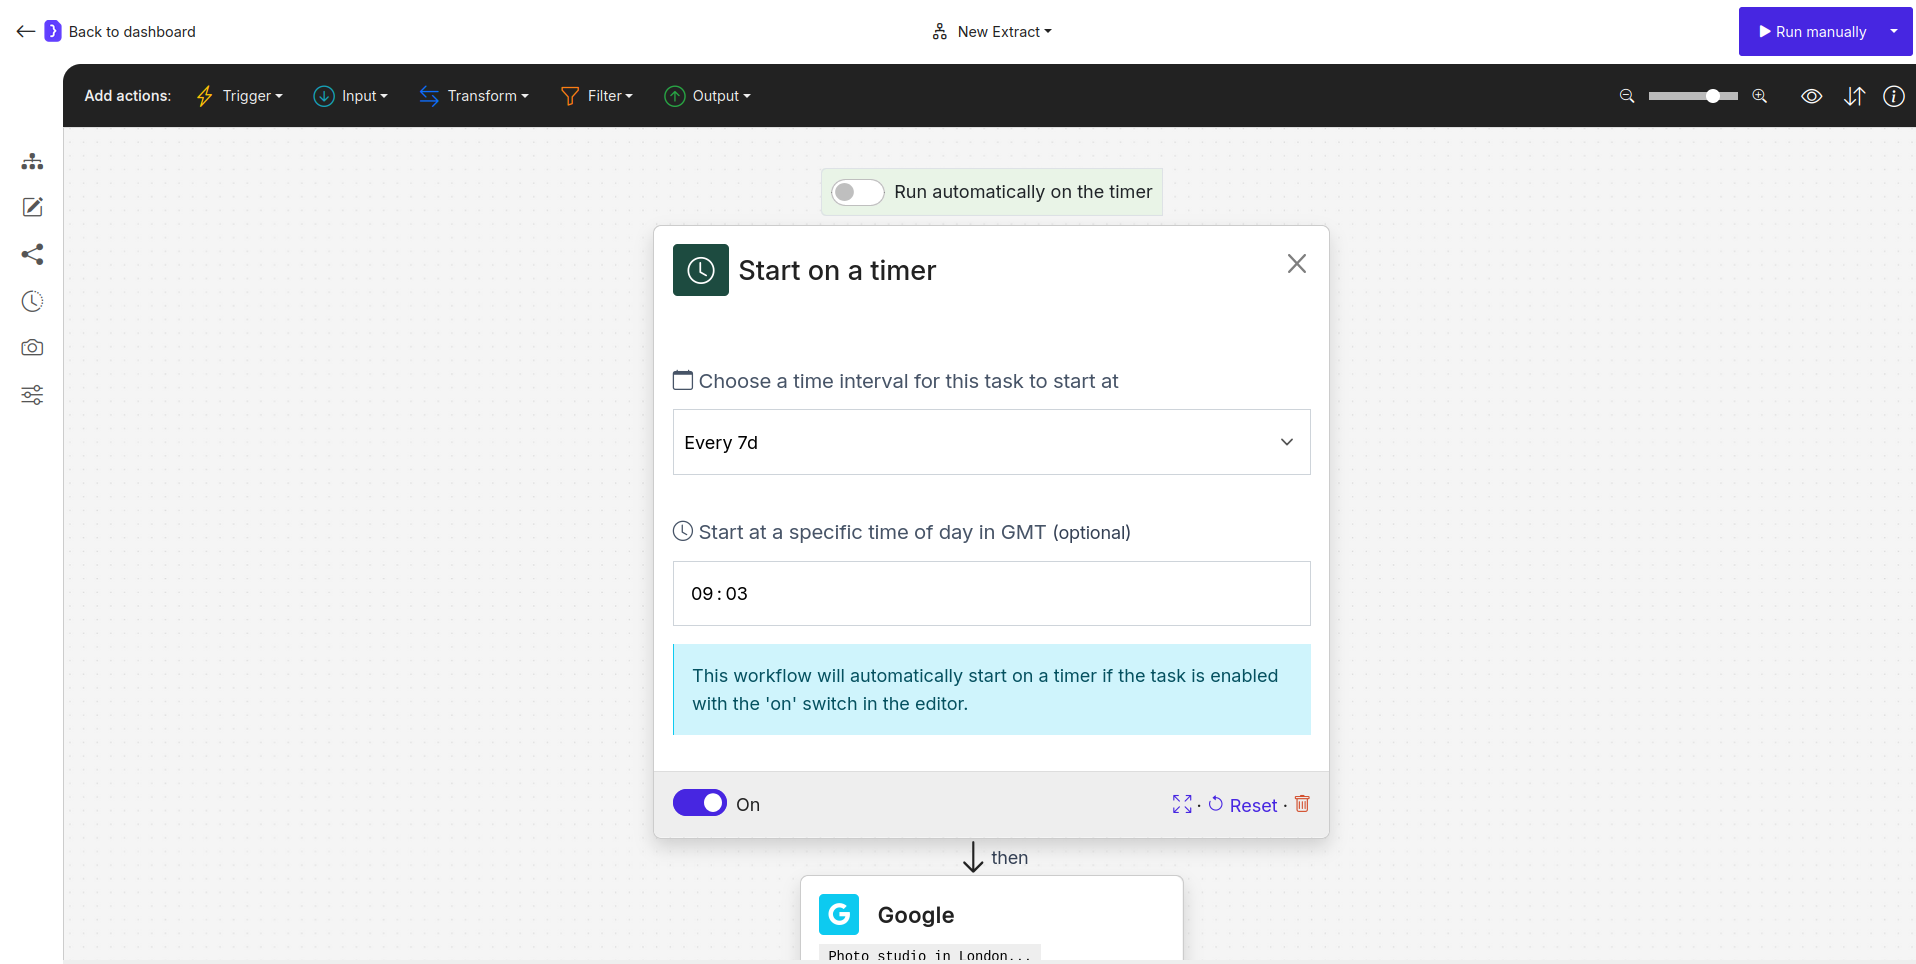
Screenshot: Timer block configured for periodic runs
3. Remove Default Open Websites and Add Google Block
- Select the
Open Websitesblock that came with the template. In the bottom right corner of its configuration panel, click Delete. - Now, add the search functionality:
- Look at the block categories at the top of the editor.
- Select the Input category.
- From the dropdown list, select
Google. - Click the + icon on the canvas after the
Timerblock.
- Select the
Googleblock to configure it:- What should the AI search for?: Enter your target query, e.g.,
Photo studio in London -top -brand.- Search Query Explanation:
Photo studio in London: This is the main search phrase.-top -brand: The minus sign (-) before a word or phrase tells Google to exclude results containing that specific word/phrase. This can help refine your search results.
- Search Query Explanation:
- What should the AI search for?: Enter your target query, e.g.,
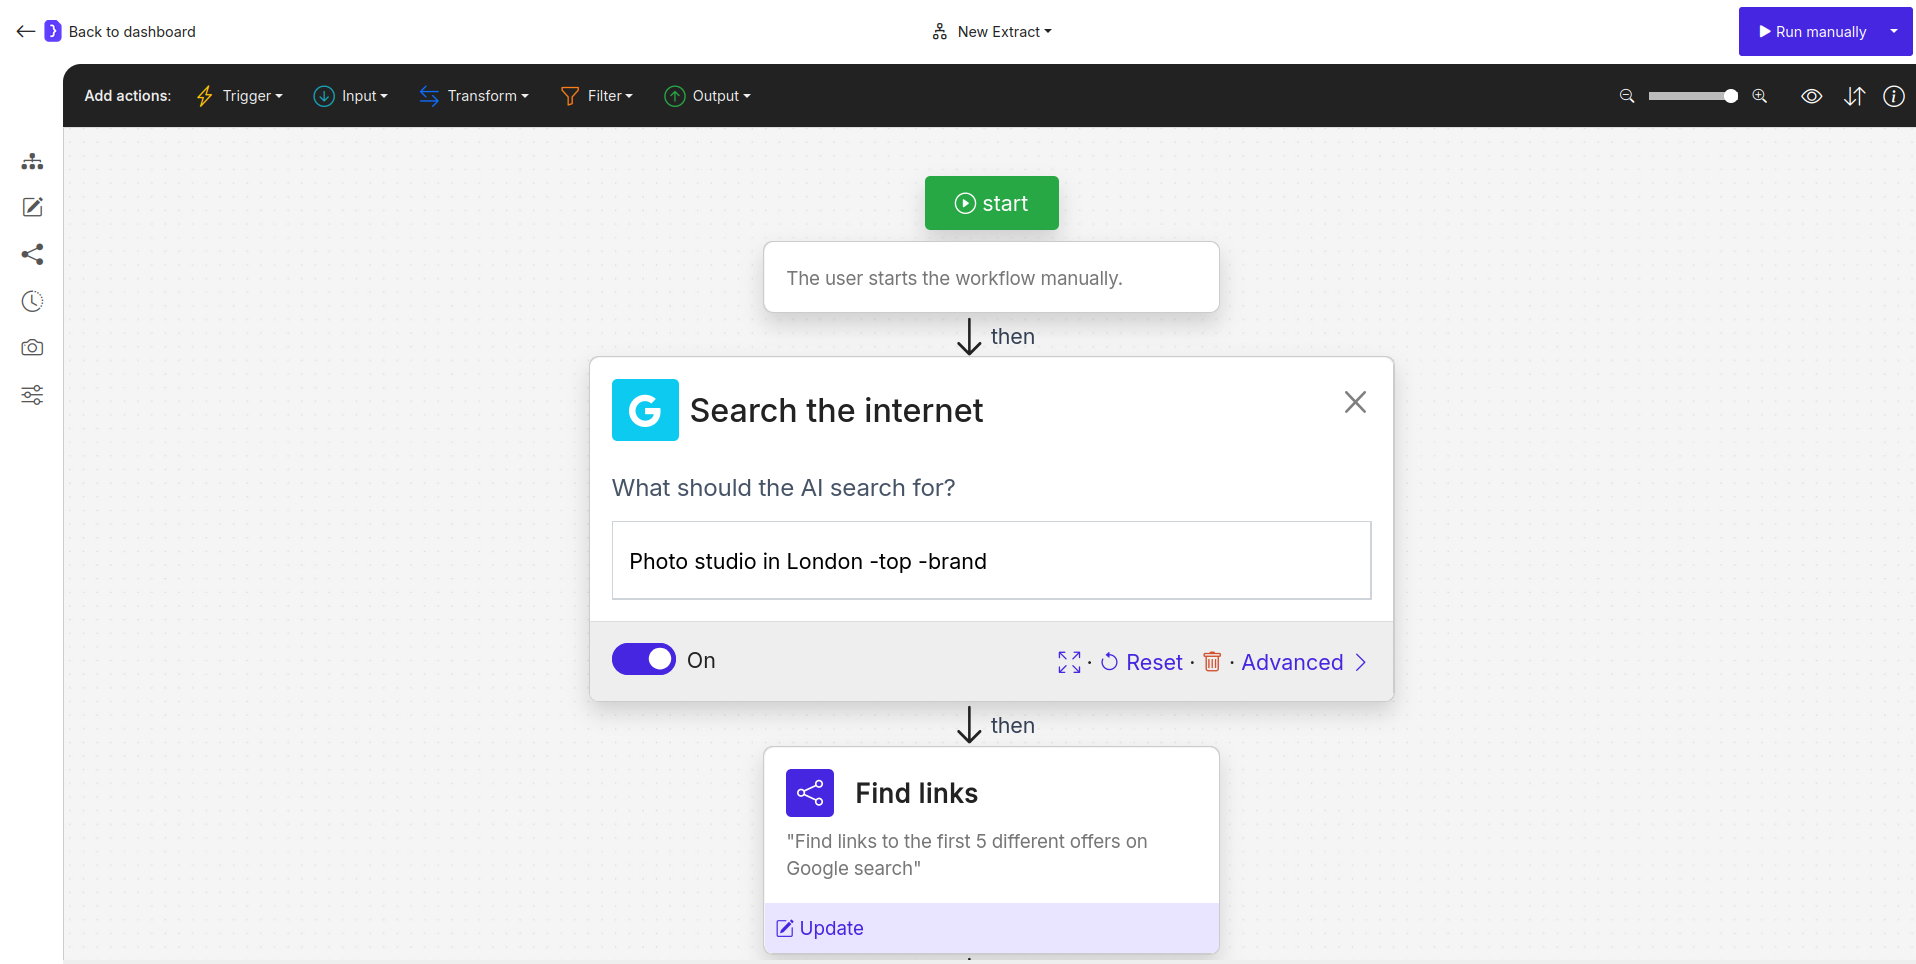
Screenshot: Google block configured with an example query and explanation of flags
4. Add and Configure Find Links Block
- From the Google search results page, we need to identify links to the actual landing pages.
- To add a new block:
- Select the Transform category at the top of the editor.
- From the dropdown list, select
Find Links. - Click the + icon on the canvas after
Search on Google.
- Select the
Find Linksblock.- What kind of links?:
Find links to the first 5 different offers on Google search.
- What kind of links?:
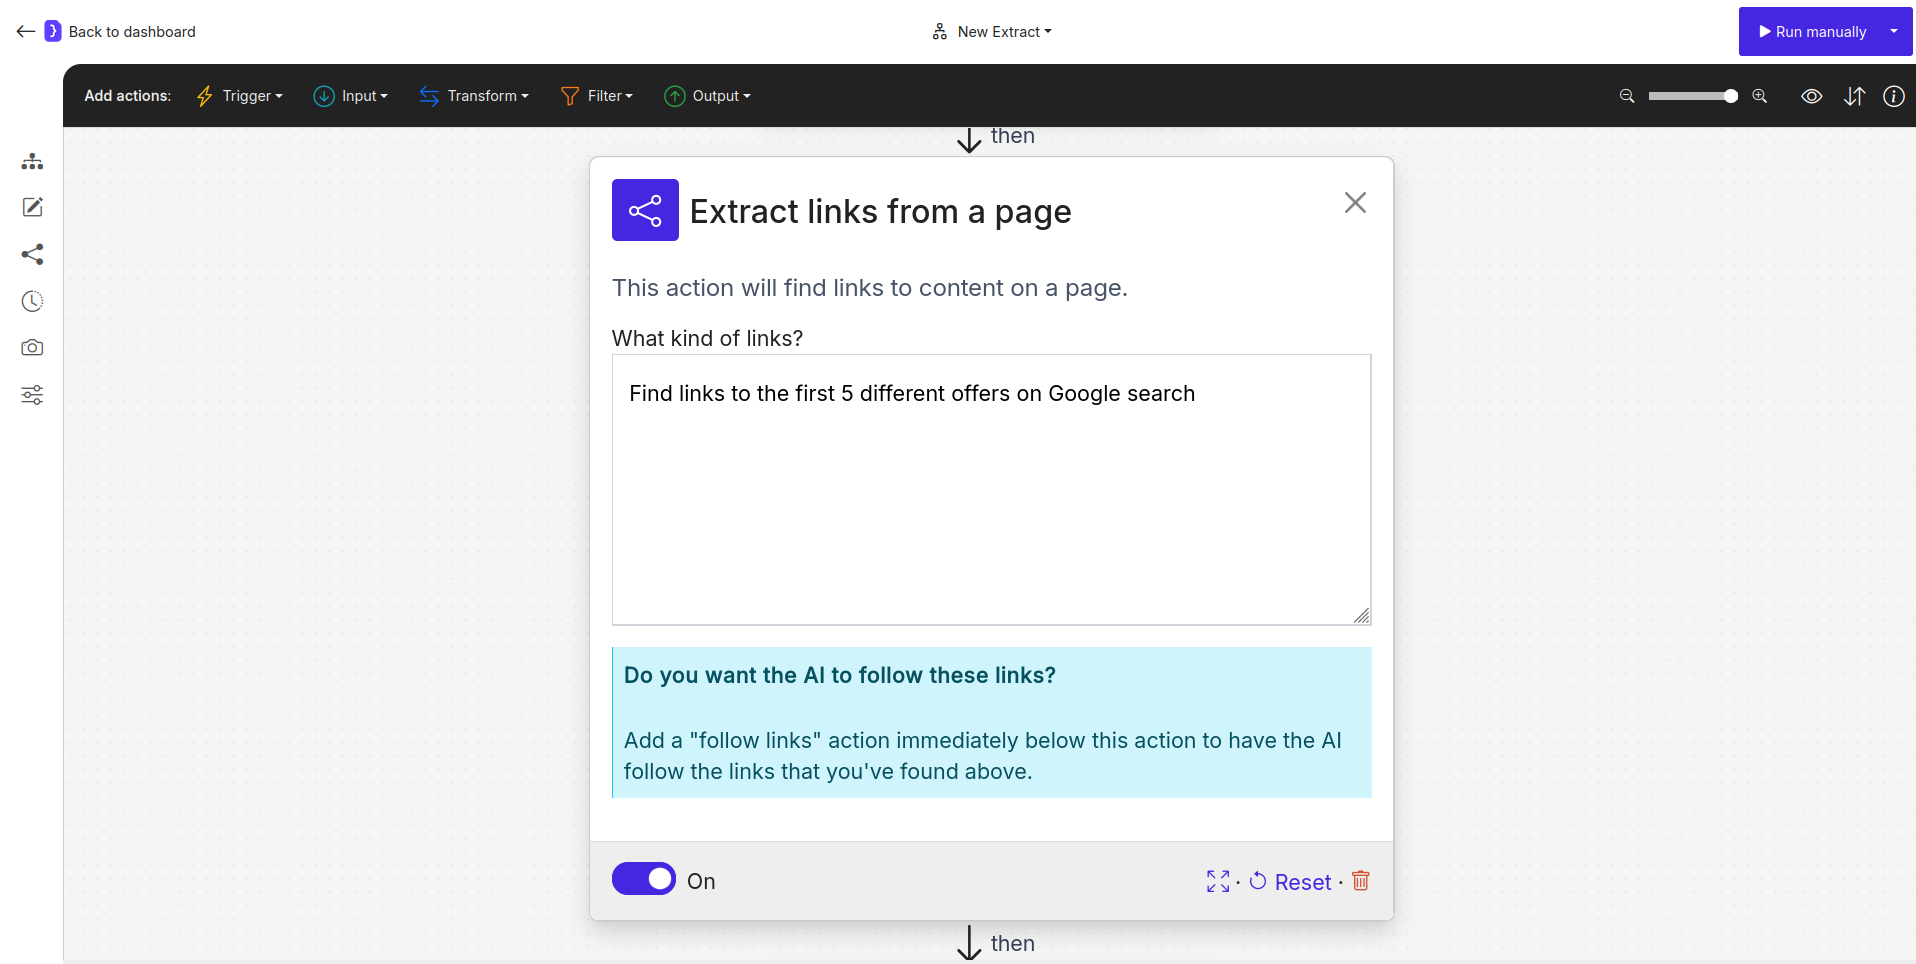
Screenshot: Find Links block configured to find top 5 offer links
5. Add and Configure Follow Links Block
- The agent now needs to visit each of these 5 landing pages.
- To add a new block:
- Select the Input category at the top of the editor.
- From the dropdown list, select
Follow Links. - Click the + icon on the canvas after
Find Links.
- Select the
Follow Linksblock.- Which links to follow?: Choose
Follow each link.
- Which links to follow?: Choose
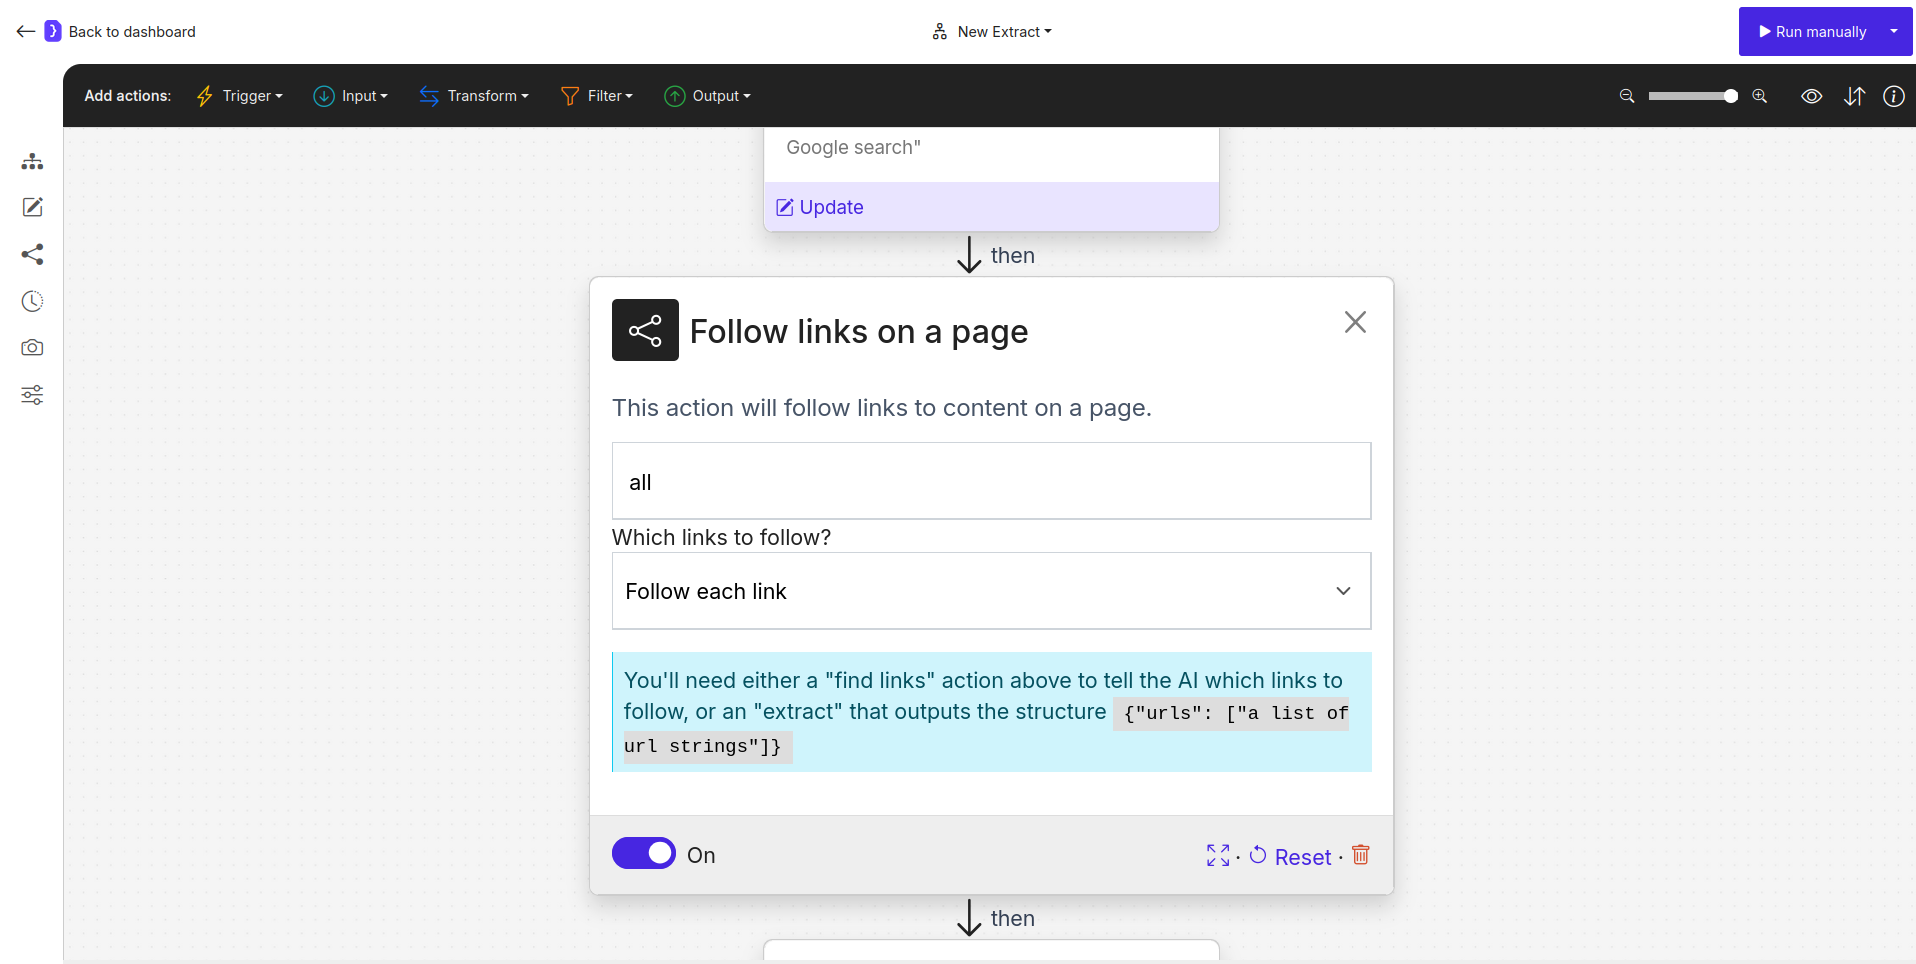
Screenshot: Follow Links block configured to 'Follow each link'
6. Add Interact with Page to Handle Pop-ups
- Many websites show cookie banners or subscription pop-ups that can obscure content. We need to close these before analysis.
- To add a new block:
- Select the Transform category at the top of the editor.
- From the dropdown list, select
Interact with Page. - Click the + icon on the canvas after the
Follow Linksblock.
- Select the
Interact with Pageblock to configure it.-
Describe the action to take below: Enter a clear instruction to handle common pop-ups. For example:
-
Advanced Settings: Click Advanced in the bottom right corner. Set “Maximum number of steps” to
3. This allows the AI agent to perform up to three distinct actions (e.g., close a cookie banner, then close a newsletter pop-up, etc.) to clear the page before analysis. This number is an optimal assumption that there will be fewer than three pop-ups on the page.
-
Describe the action to take below: Enter a clear instruction to handle common pop-ups. For example:
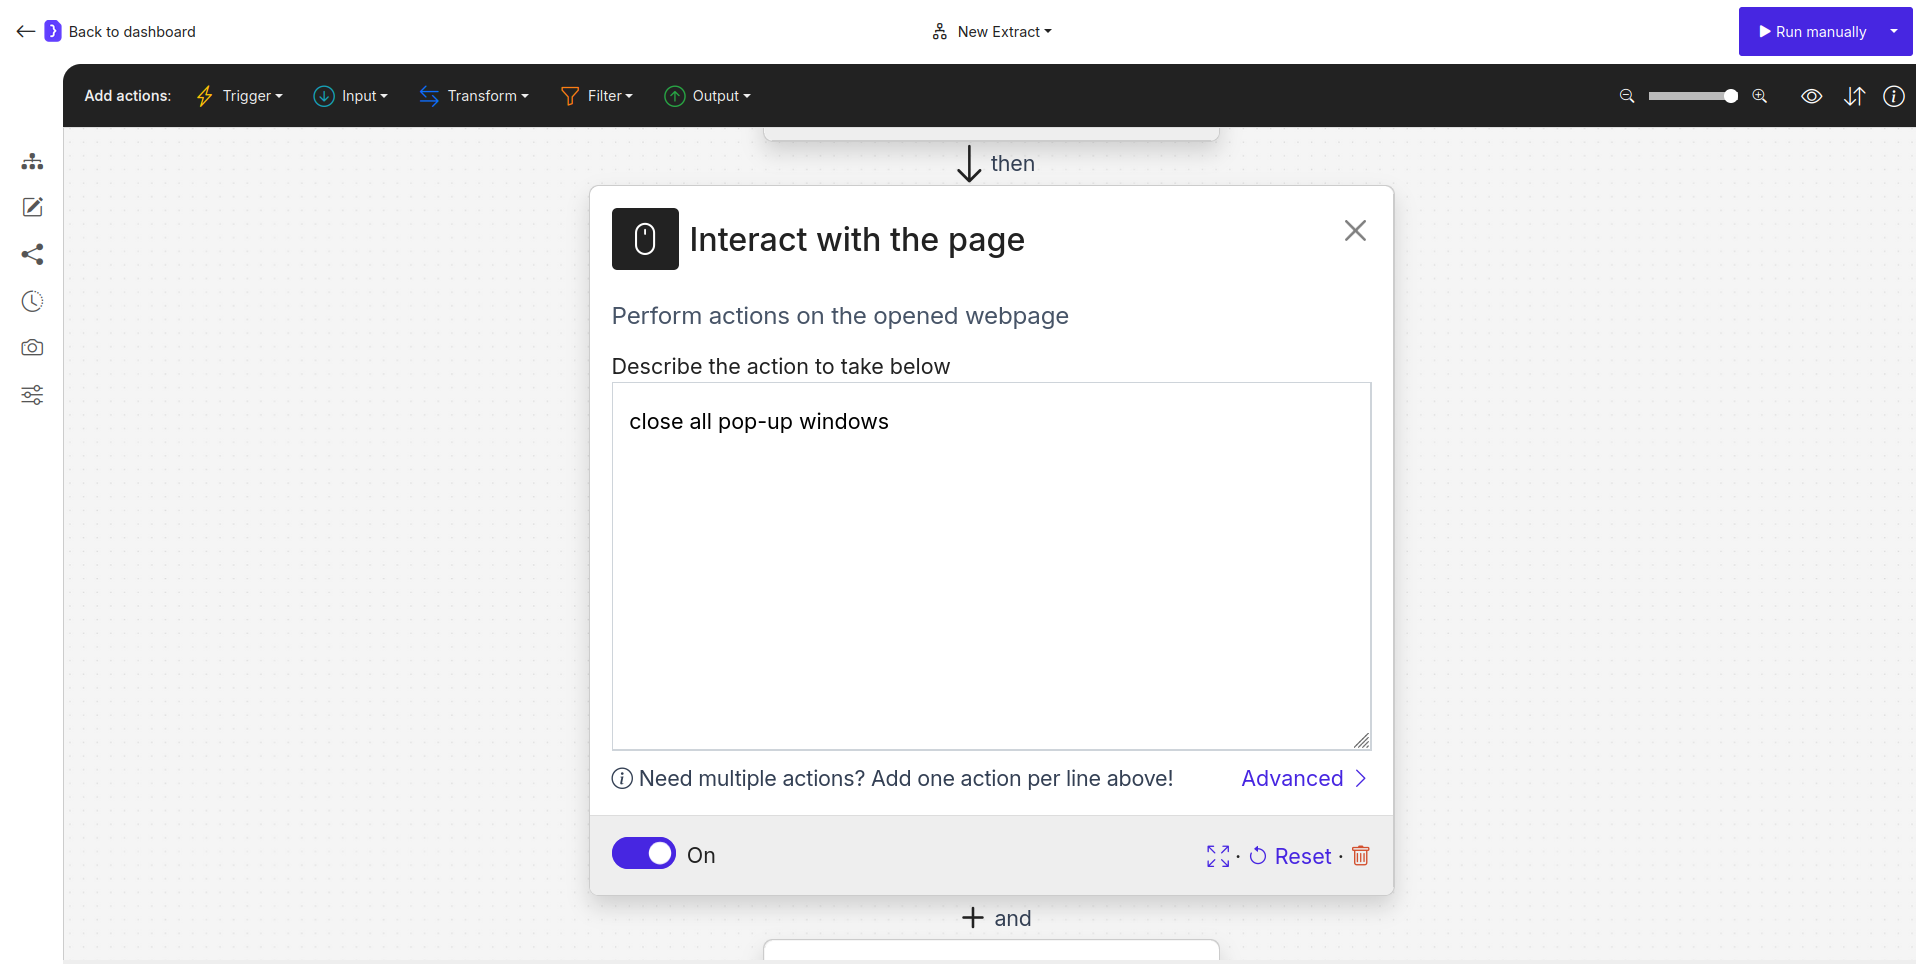
Screenshot: Interact with Page block configured to close pop-ups
7. Configure Extract Data Block (The Analysis Step)
- This block will execute on each of the 5 landing pages after the pop-ups have been handled.
-
Select the
Extract Datablock (it should be the last block, now connected afterInteract with Page). -
What information…?: Select
A single item. - Enter Advanced Mode (Edit data shape - JSON): Click Advanced to switch to JSON mode.
-
Enter the following JSON schema. The values
<...>are prompts for the AI: -
Add additional instructions and guidance…:
Analyze the company's landing page in terms of SEO and key content elements. Populate the fields based on the page content. For key_words, identify recurring and prominent phrases.
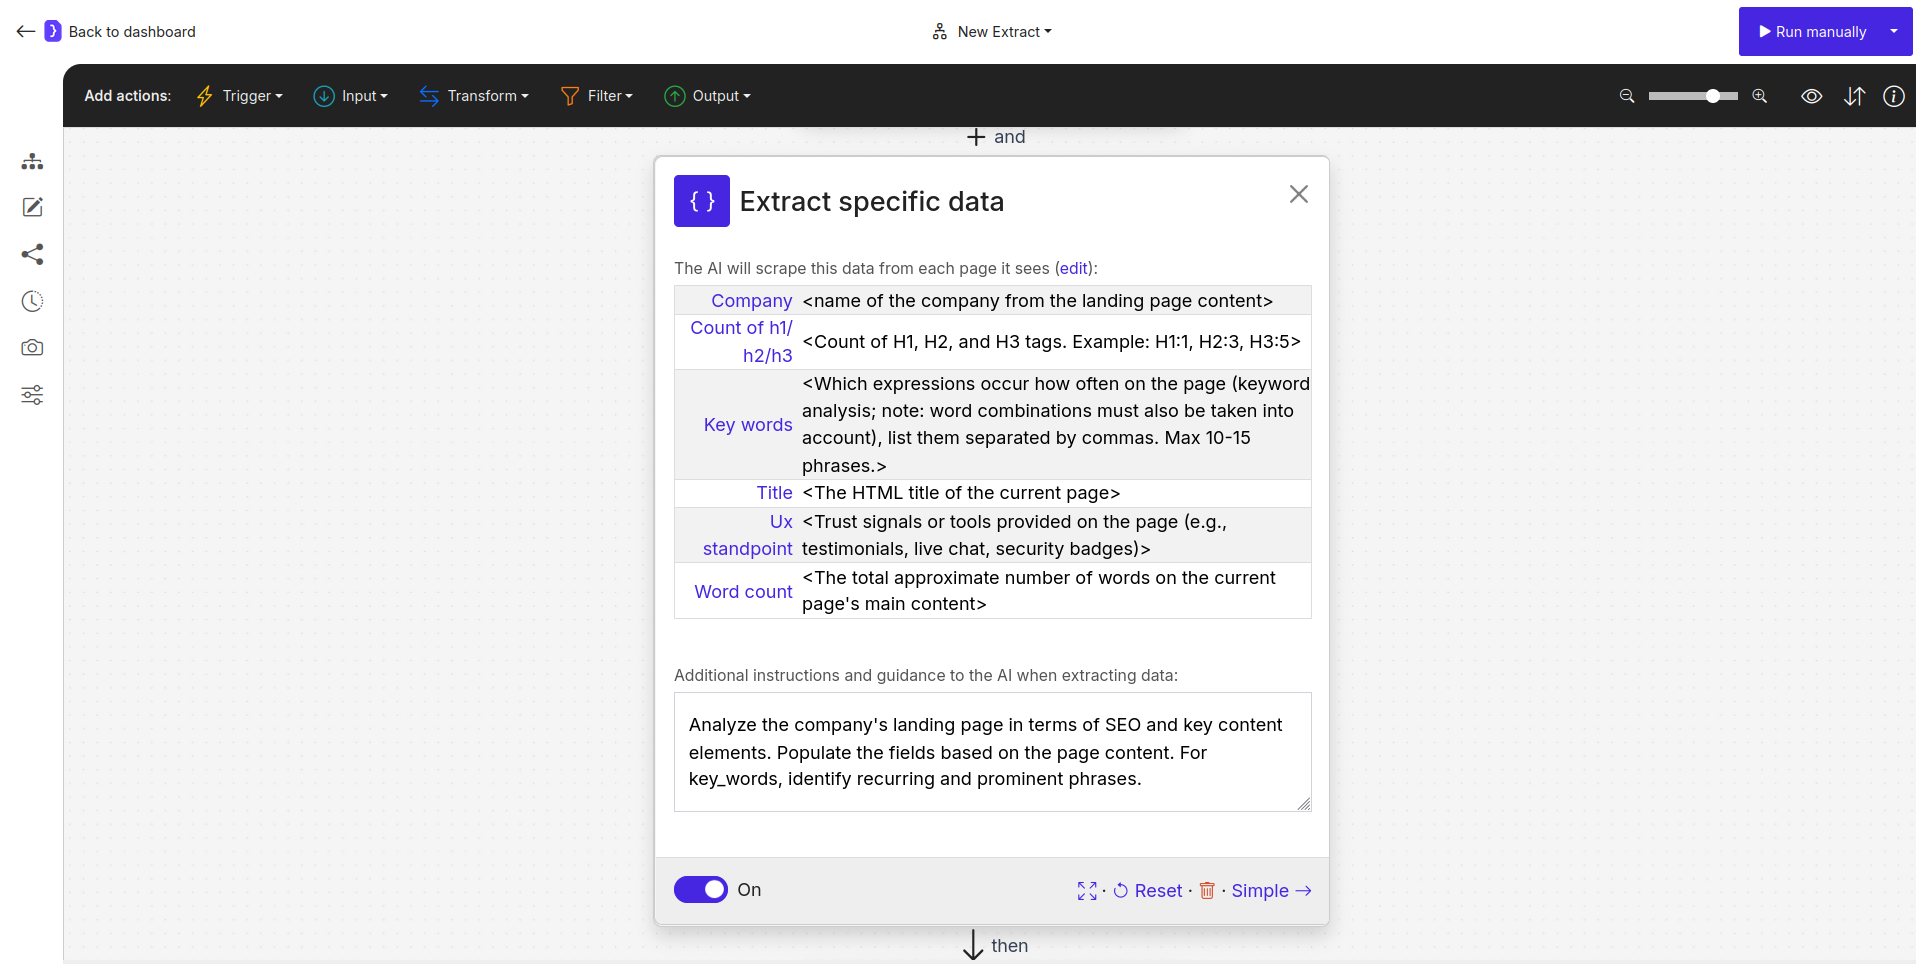
Screenshot: Extract Data block in JSON mode with SEO analysis schema
8. Run Your Workflow (Manually for Testing)
- Although scheduled, you can test it immediately. Click the Run manually button.
- The agent will:
- Perform the Google search.
- Identify the top 5 landing page links.
- For each of these 5 pages: a. Navigate to the page. b. Close any pop-ups found. c. Perform the analysis and extract the data according to your JSON schema.
9. Check the Results
- You will be redirected to the current run’s page where results will populate.
- Once completed, click on “View as sheet”.
- You should see a table with 5 rows (one for each analyzed landing page), and columns corresponding to your JSON schema.